Integrate VSCode
Everything I’m doing here uses Git, but also ties into GitHub.
I open Visual Studio Code and select a folder which has an existing repo cloned from GitHub and open a file.
In the terminal window, I select Output and Git.

I make a small edit to the file and click Save. The filename changes colour, signalling that it has been changed.

I click on Source Control, and I can see the changed file.
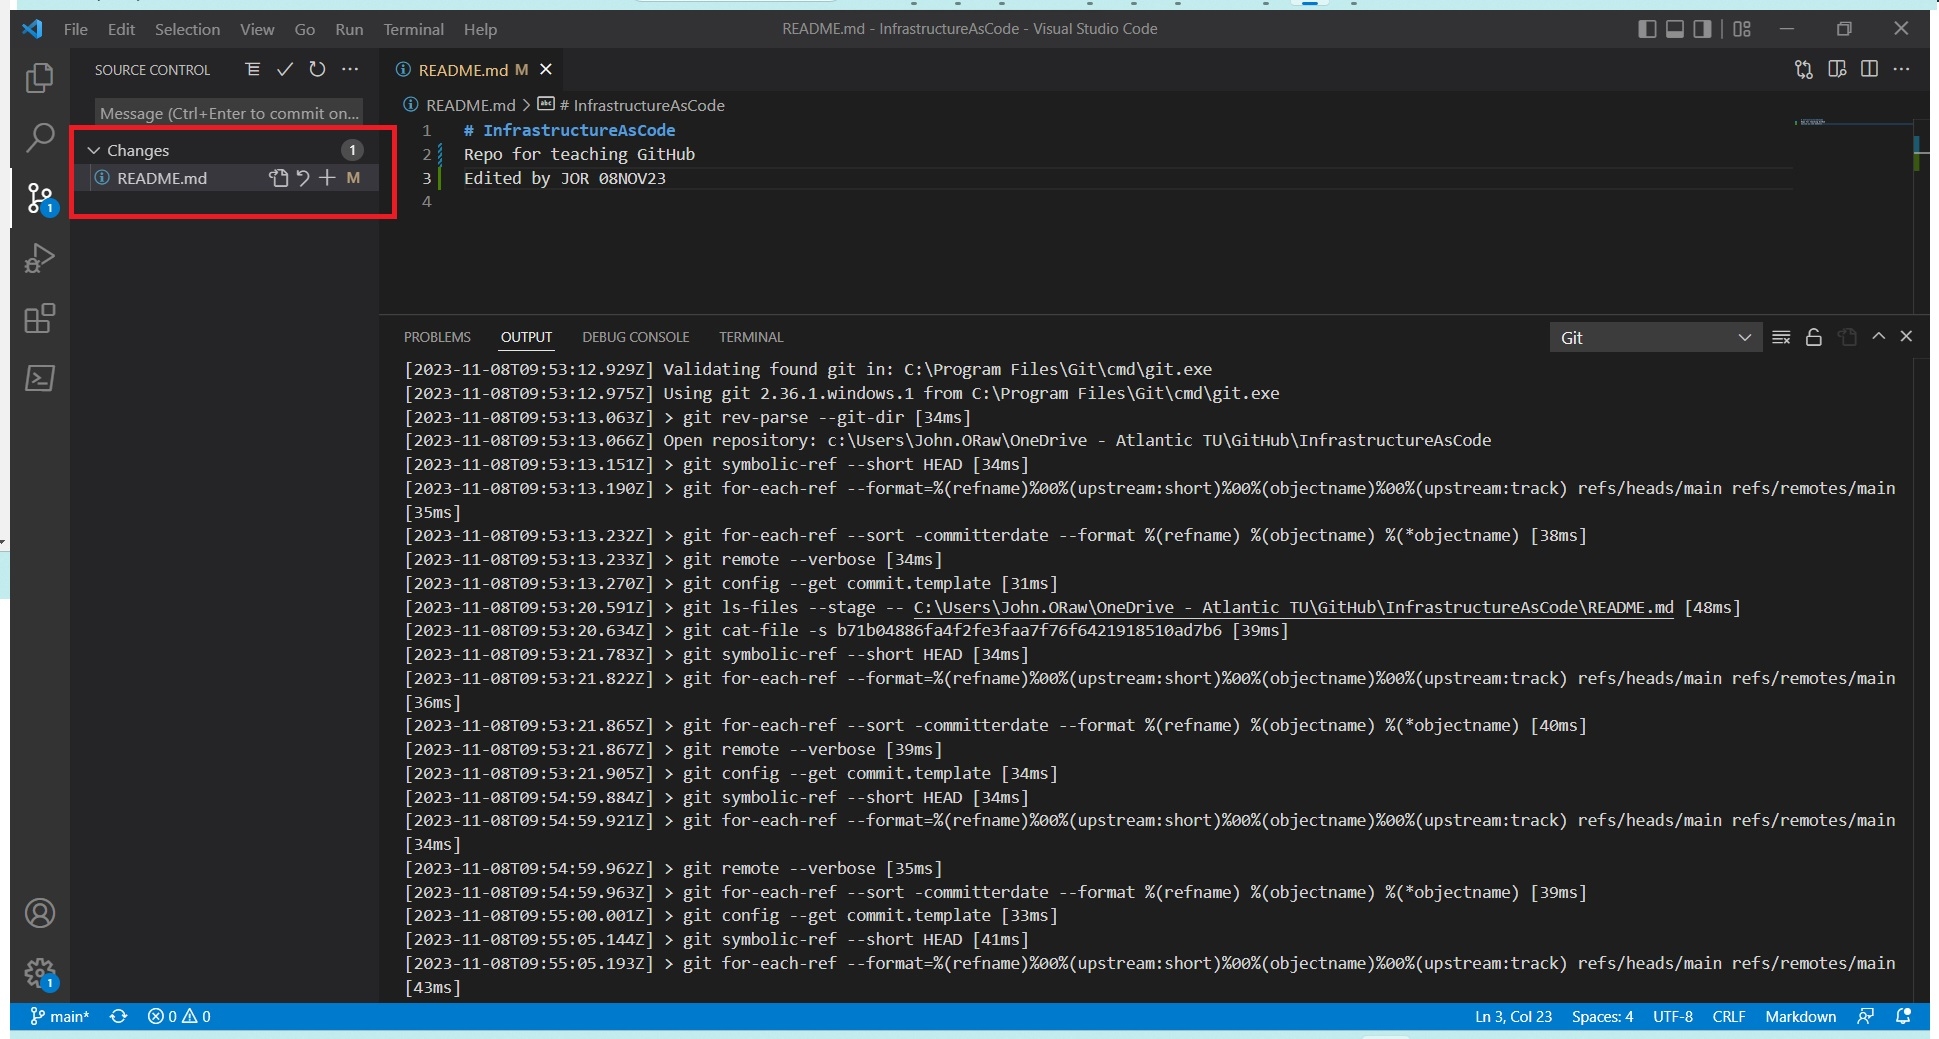
I have options to discard (curvy arrow) or add (+), hover over them to distinguish.
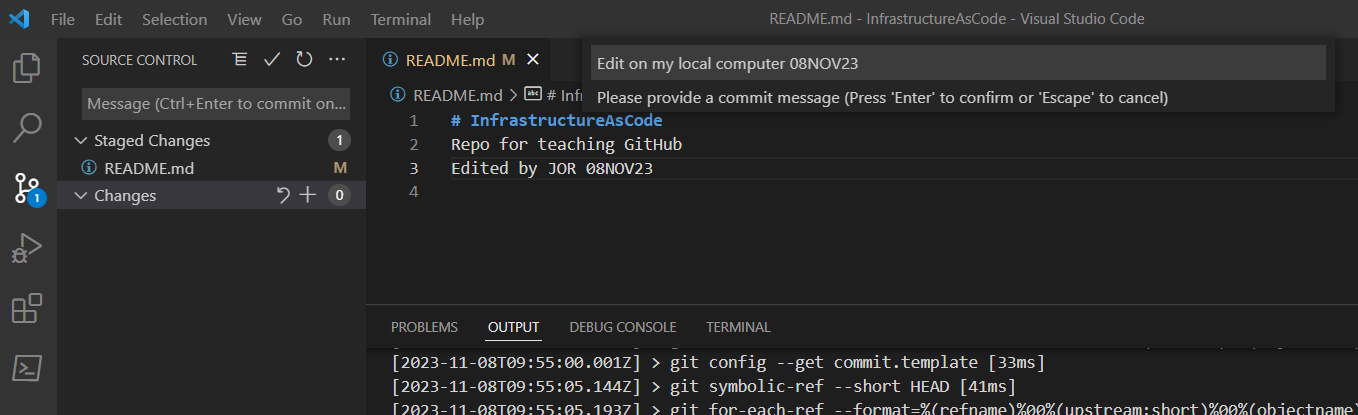
If I add, I can see a new tab, Staged Changes.

If I click on the menu (three dots) I can see the Git commands.

I click Commit and then Commit staged and I’m prompted for a message; I add a message.
My local Git repo is now clean, but is one revision ahead of the origin, my GitHub repo.
I can now Sync changes.

If I monitor the output, I can see the detail of the push to the repo.

And I can verify on GitHub.

Exercise
Using one of your repos, make sure you can edit in VSCode, add, commit, and push. Verify all this as I did.